
What to Expect During a Whole-Home Repipe in Phoenix
“Whole-home repipe” can sound like a major upheaval. You might picture every wall open, dust everywhere, and days of living without water. In reality, a well-managed repipe by a specialist is a phased, organized project that follows a clear roadmap.
Understanding that roadmap makes it much easier to decide if this is the right move for your home.
Step 1 – Evaluation and System Design
Everything starts with an in-home evaluation. A repipe specialist needs to see your current system, not just hear about it over the phone.
What Happens During the Evaluation
During this visit, the specialist will:
- Identify what type of piping you currently have and its approximate age.
- Look for visible signs of corrosion, leaks, or previous patchwork.
- Note your home’s layout, including slab vs. crawlspace, number of stories, and attic access.
- Ask about your experience with pressure, water quality, and past plumbing issues.
This isn’t about upselling; it’s about understanding where your existing system is failing and what a realistic upgrade looks like.
Step 2 – Permits, Planning, and Timeline
Once you decide to move forward, the planning phase begins.

Getting on the Same Page Before Work Starts
Behind the scenes, the repipe specialist:
- Pulls any required permits with your local city or county.
- Creates a material list and finalizes routing diagrams.
- Schedules your project and confirms the start date and expected duration.
You’ll typically receive a summary of what to expect each day in terms of water availability and which areas of the home will be impacted first.
Step 3 – Protecting Your Home and Setting Up the Workspace
On day one, the crew doesn’t immediately start cutting. They prepare your home to minimize disruption.
Prep Work You Should Expect to See
Floor runners and protective coverings are laid along main pathways. Plastic barriers may be installed to contain dust in specific rooms. Furniture is either covered or carefully moved away from walls that will be opened. This setup work is crucial to keeping your home clean and safe throughout the project.
Step 4 – Accessing the Old System
Once the space is protected, the crew begins creating access points.
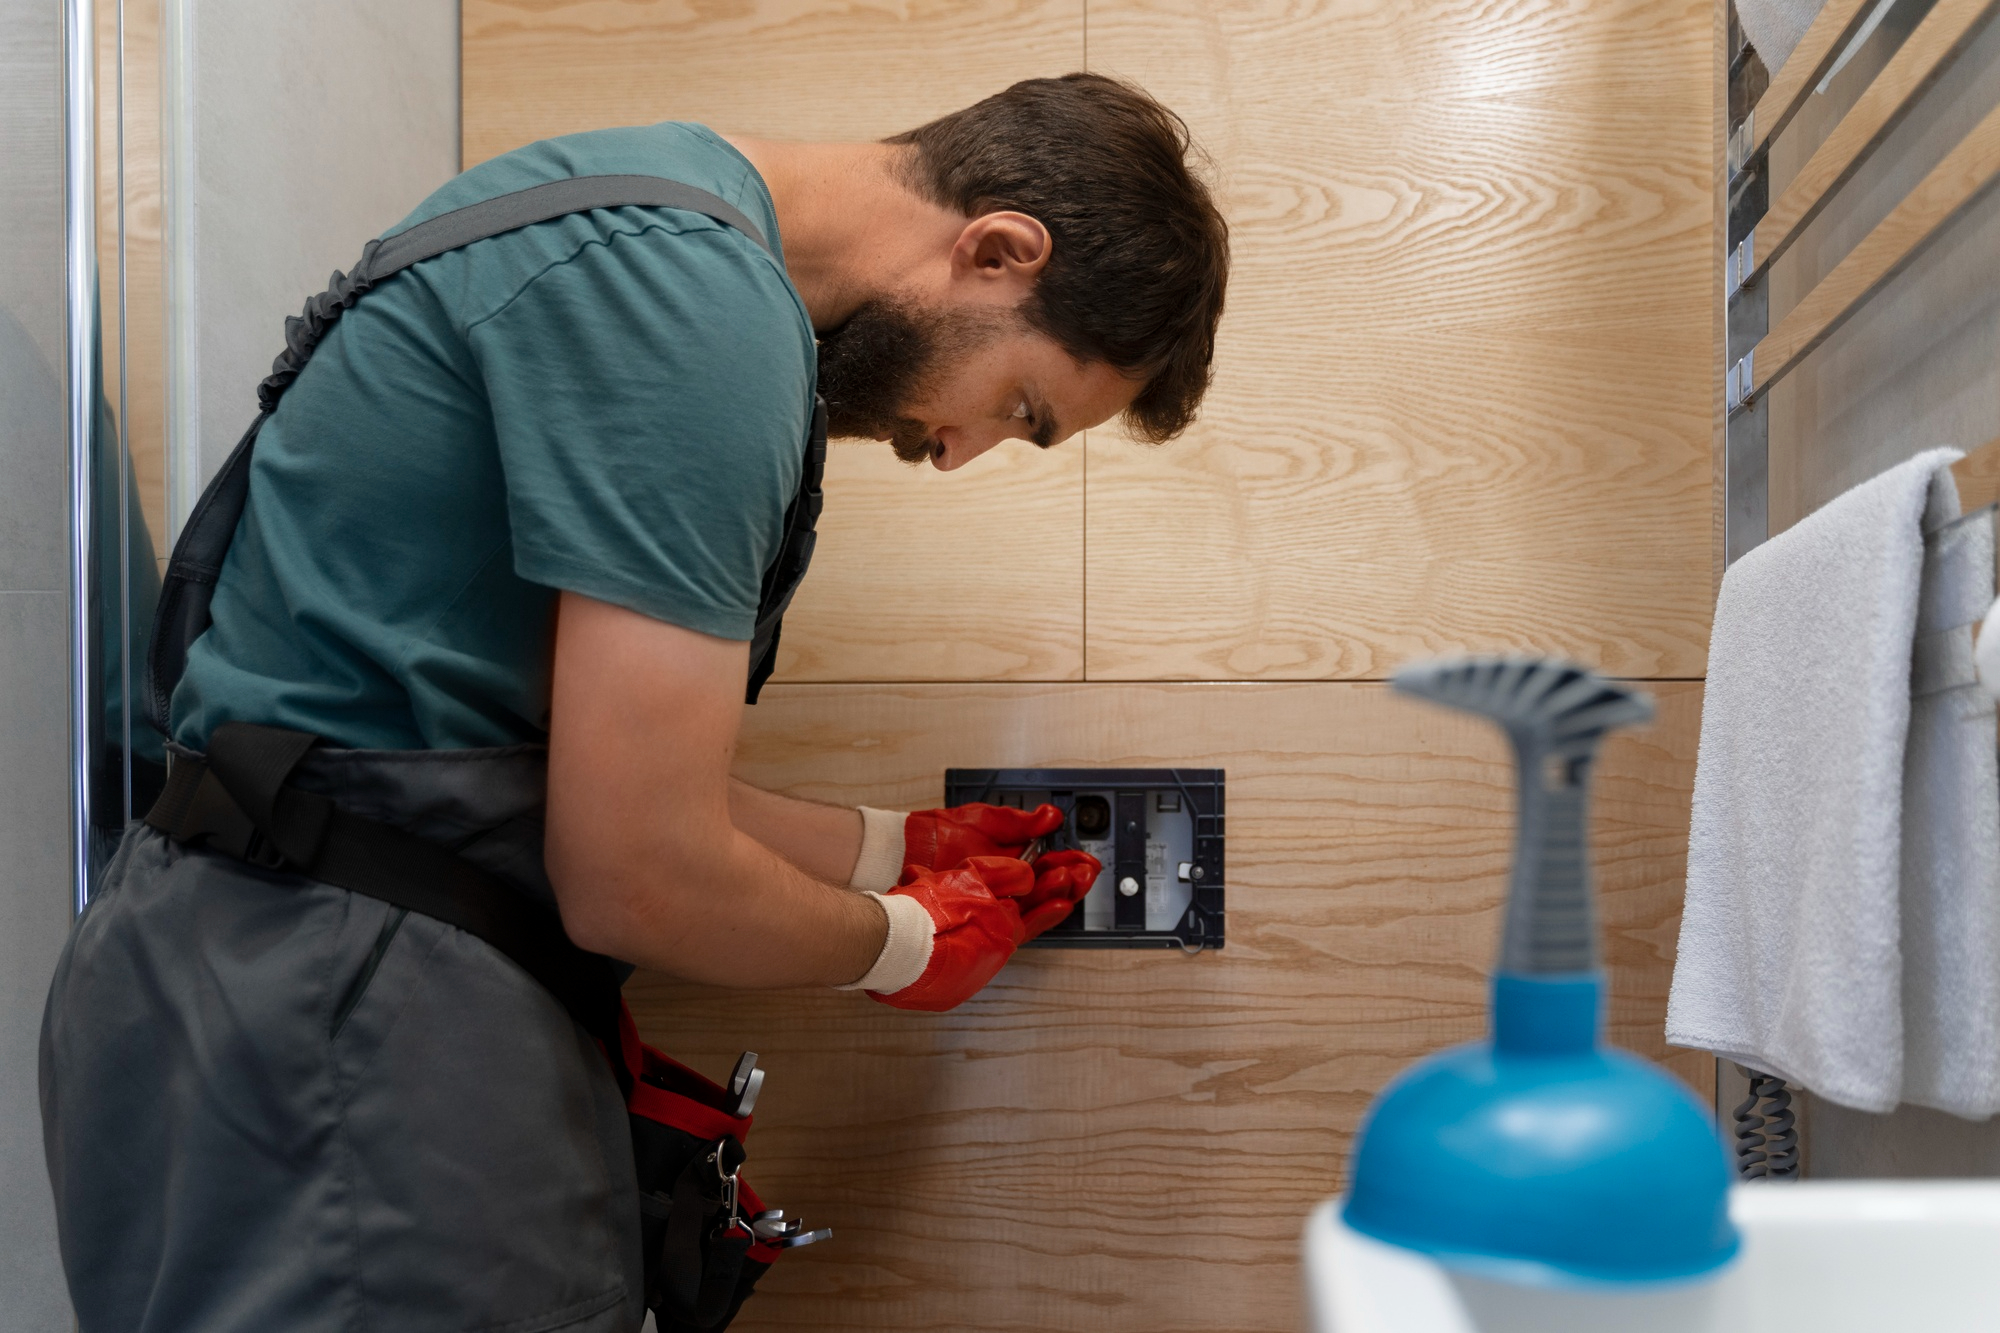
Where and How Walls Are Opened
Access openings are kept as small and targeted as possible. Typical locations include:
- Behind bathroom and kitchen fixtures
- In closets that back up to plumbing walls
- In ceilings where lines need to be rerouted
The goal is to reach old lines and install new ones with the least amount of demolition necessary to do the work correctly.
Step 5 – Installing the New Piping
With access established, the actual repipe begins.
Replacing Old Lines With a Modern Layout
Old piping is isolated or removed, depending on its location and condition. New PEX, copper, or a hybrid system is installed according to the design created during planning.
This is where you see the real upgrade:
- Supply lines may be rerouted out of the slab and into walls or ceilings.
- Manifold systems may be installed to give each fixture dedicated supply lines.
- New shutoff valves are placed so individual bathrooms, kitchens, or fixtures can be turned off without affecting the whole house.
Step 6 – Testing and Inspection
After the new piping is in place, nothing gets closed up until it’s tested.
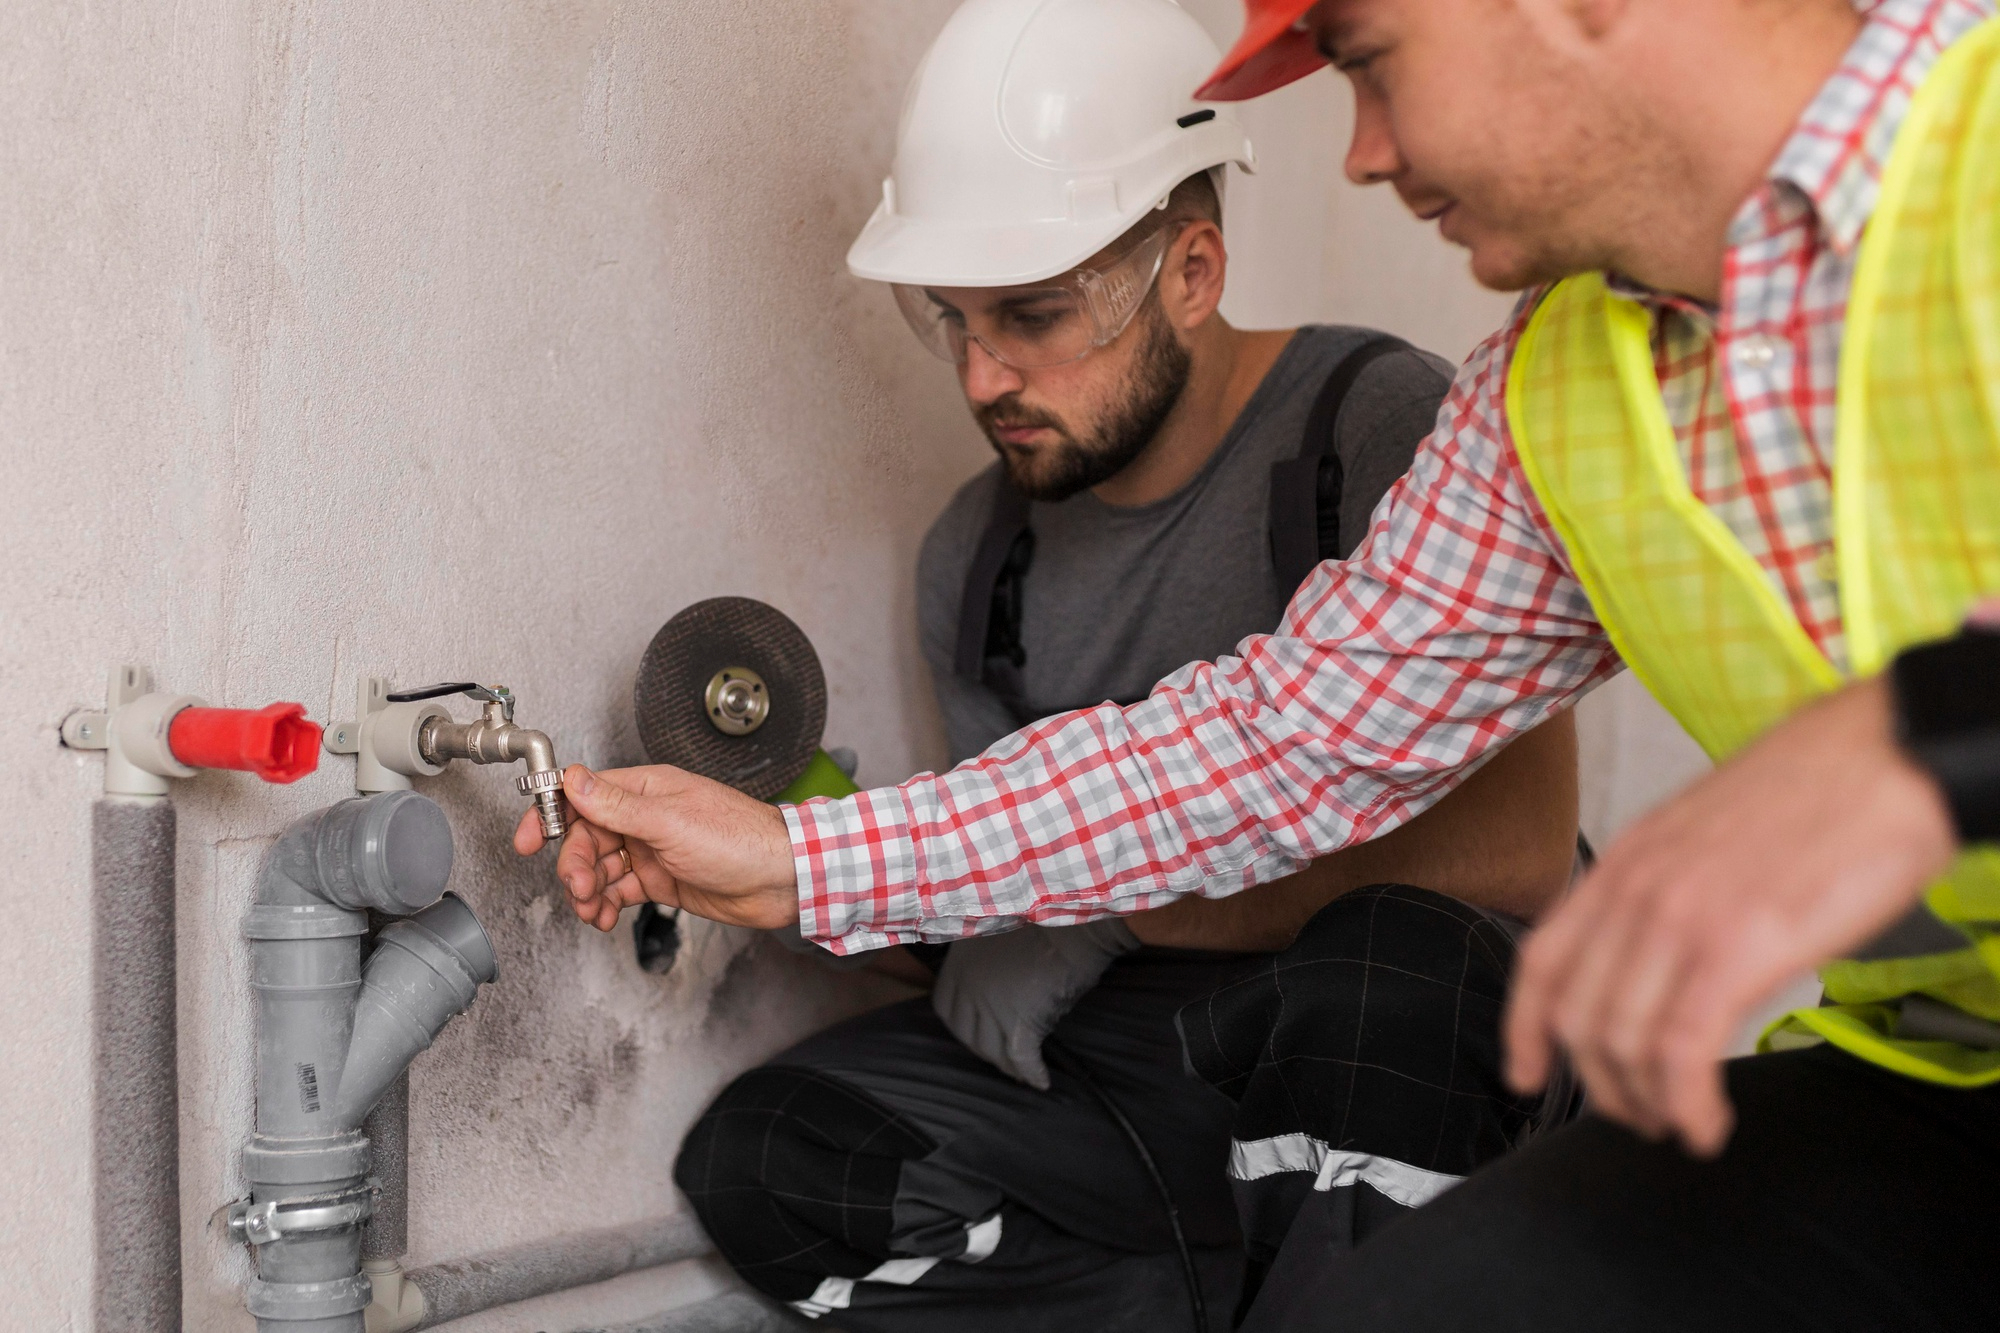
How Your New System Is Verified
The crew pressurizes the new system and inspects every accessible joint. If your city or county requires inspection, this is when the inspector verifies that materials, installation methods, and routing all meet current code.
Any adjustments are made before drywall work begins, so you’re not dealing with “mystery leaks” later.
Step 7 – Drywall, Texture, and Paint Restoration
Once the plumbing passes its tests, restoration can begin.
Returning Your Home to Normal
Drywall patches are installed over access openings. The crew matches textures as closely as possible, orange peel, knockdown, or other finishes, and then blends paint so repairs don’t stand out. Trim, outlet covers, and any removed fixtures are reinstalled.
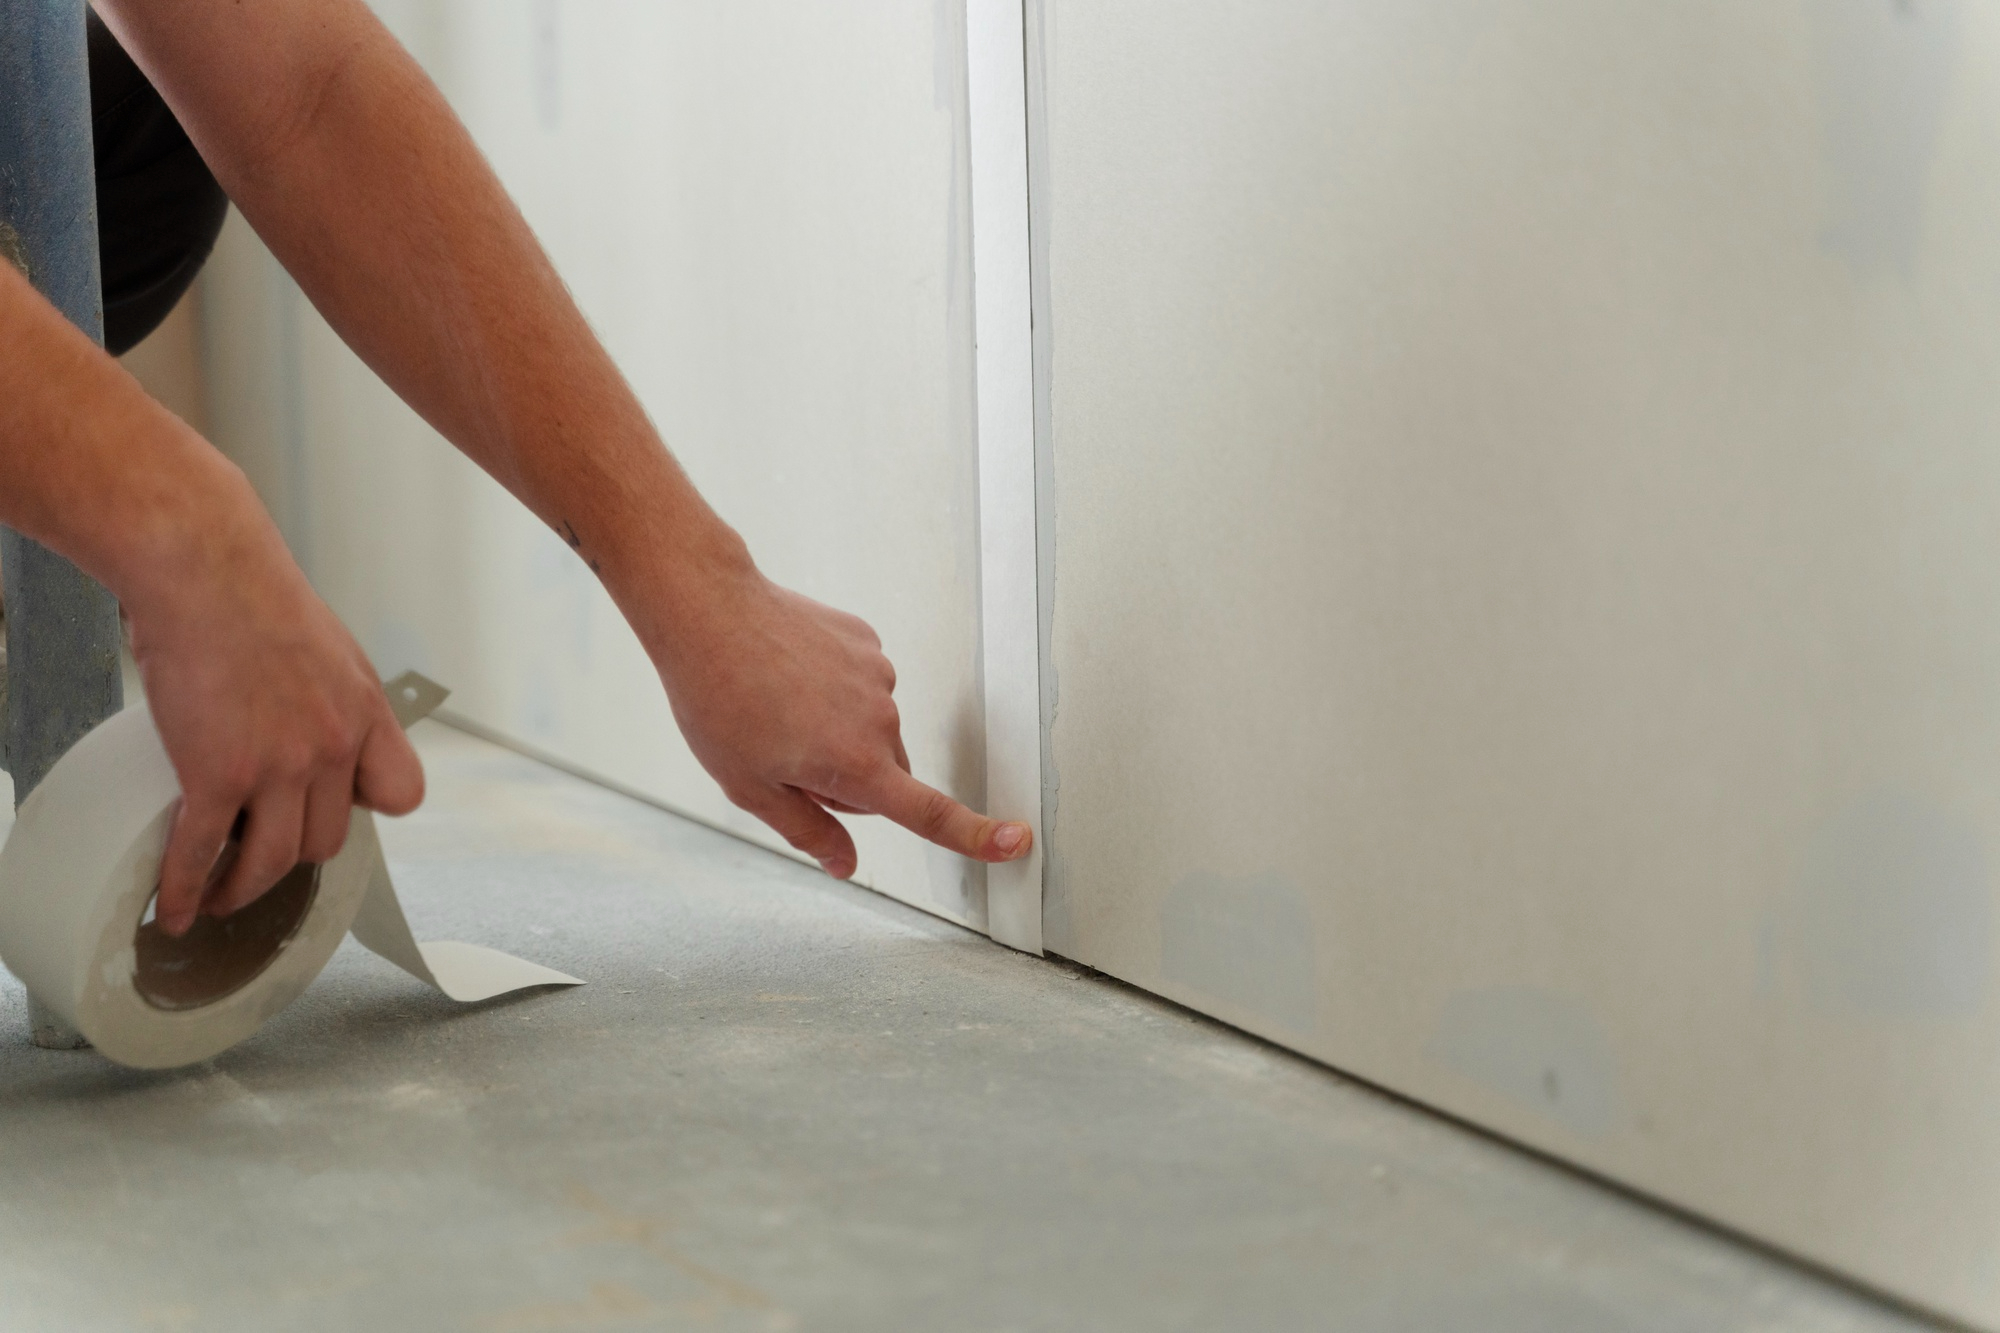
A professional repipe doesn’t leave you with visible scars all over the house; it aims to make the work practically invisible.
Step 8 – Final Walkthrough and Handover
With the system live and the home restored, the specialist walks you through the finished work.
What You Learn in the Final Walkthrough
During this visit, you’ll:
- See where new main and fixture shutoff valves are located.
- Get an explanation of how your system is laid out (especially if a manifold was used).
- Review warranty coverage and recommended maintenance intervals.
You should leave this meeting confident about how your new plumbing works and who to call if you ever have future questions.
How Long Does a Whole-Home Repipe Usually Take?
Every home is different, but most single-family projects are completed in a matter of days, not weeks.

Water is usually restored at the end of workdays, so you’re not without service for the entire duration. Complex layouts or additional upgrades may extend the schedule, but your contractor should outline that clearly before work starts.
Why a Repipe Specialist Is Worth It in Phoenix
Phoenix homes bring unique challenges: slab foundations, hard water, and extreme heat. A repipe specialist works with these factors every day and designs systems specifically to address them. That experience reduces surprises, shortens downtime, and helps ensure your investment delivers decades of value.
Thinking About a Whole-Home Repipe in Phoenix?
If you’re tired of juggling leaks, low pressure, and aging pipes, a repipe may be the cleanest path forward. Call 480-274-9662 or contact Arizona Integrity Plumbing online to schedule an evaluation. You’ll get a clear plan, a realistic timeline, and a detailed look at what a repipe would mean for your specific home.


