
Hydronic Repiping: What Phoenix Homeowners Should Know Before Repairing or Replacing Lines
If you have a hydronic heating system, you already know the appeal. Quiet heat. No blowing air. Often, better comfort from room to room.
But when something goes wrong, it can feel vague and stressful.
Maybe you are seeing a pressure drop on the boiler. Maybe one room is cold while the rest of the house is fine. Or worse, you have signs of a leak, and you are thinking, “Is this going to turn into opening walls and ripping up floors?”
Hydronic problems are rarely fixed with guesswork. The right solution depends on where the failure is happening, what material your lines are made of, and whether you are dealing with one weak section or a system that’s reaching the end of its life.
This guide will help you understand how hydronic piping fails, when a repair is enough, when repiping makes sense, and what the process typically looks like in a Phoenix home.
What Hydronic Repiping Actually Means
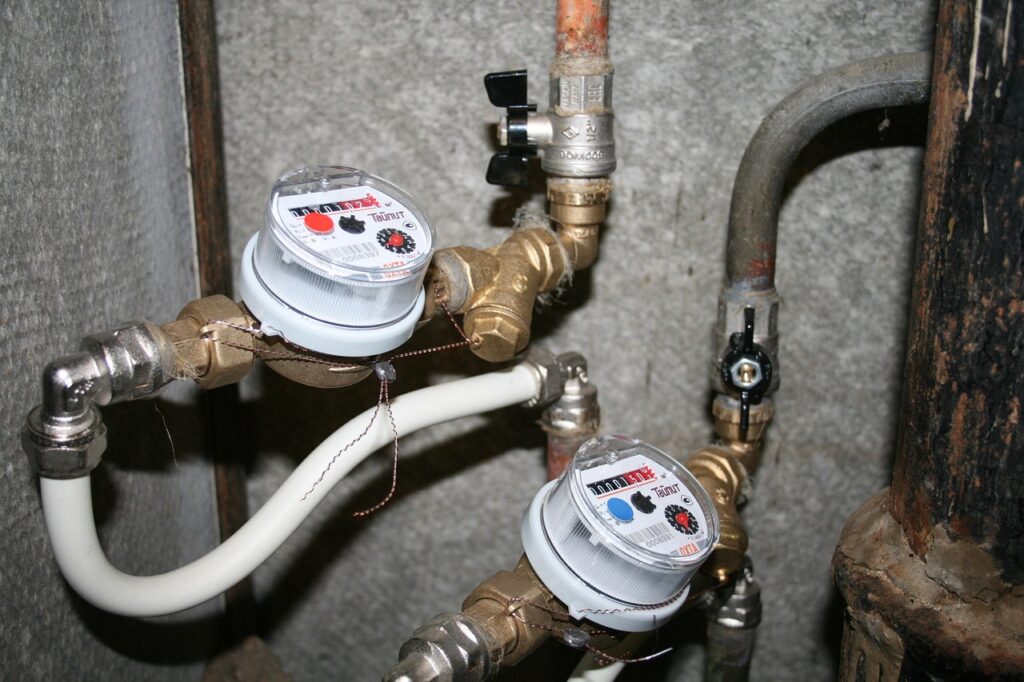
Hydronic systems move heated water through piping to deliver heat, often through baseboards, radiant floor tubing, fan coil units, or other heat exchangers.

Hydronic repiping means replacing some or all of the water-carrying lines in that heating loop. It can be:
A targeted repipe
Only replacing the sections that are failing or at high risk, such as corroded runs, damaged joints, or problem areas with repeated leaks.
A full repipe of the hydronic loop
Replacing the majority of hydronic supply and return lines when the system is old, materials are failing, or leaks are becoming frequent.
Hydronic repiping is different from a standard whole-home plumbing repipe because you’re not just talking about domestic hot and cold water to taps and showers. You’re dealing with a closed loop heating system, pressure behaviour, circulation, and sometimes specialised components like expansion tanks, air eliminators, and zone valves.
Common Hydronic Problems That Lead to Repiping
Hydronic systems often give you clues before they fail dramatically. The challenge is that the clues can look like “boiler issues” when the piping is the real culprit.
1. Pressure keeps dropping
If you are repeatedly topping up the system, or your boiler pressure falls over time, that often points to a leak somewhere in the loop.
Small leaks can be hard to spot, especially if they are behind walls or under floors, but they still create pressure loss.
2. Cold spots or uneven heat
If one zone is not heating properly, or certain rooms stay cold, it can be caused by air in the system, circulation issues, or restricted flow in older lines.
It is not always a repipe issue, but repeated “band-aid” fixes can be a sign the piping is no longer behaving as it should.
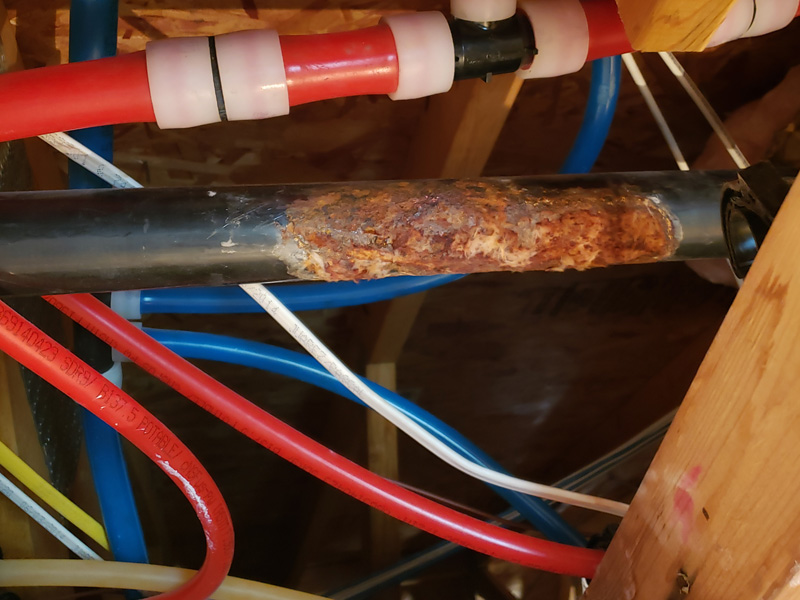
3. Visible corrosion, staining, or damp areas
Any staining on walls or ceilings near hydronic lines, damp patches near baseboards, or unexplained musty smells can be a warning sign.
If you see corrosion at exposed fittings, that often means there is more going on in the areas you cannot see.
4. Noisy system, gurgling, or frequent air bleeding
A little air removal now and then can be normal. Constant air problems can indicate issues like micro-leaks drawing air into the system, poor pressure control, or failing components.
5. The system is older and repairs are piling up
If you have had multiple hydronic repairs in different areas, it is reasonable to ask whether you are chasing problems rather than solving them.
Why Hydronic Piping fails, Even In Systems That Were Well Built
Most hydronic failures come down to a few predictable factors.
Material ageing and corrosion
Older systems may have steel, copper, or other materials that can corrode over time, especially at joints and fittings.
A closed loop system should have less oxygen exposure than domestic plumbing, but oxygen can still get in through makeup water, micro-leaks, or certain components. Over time, corrosion can build, and weak points appear.
Water chemistry and poor system maintenance
If the system water is not treated properly, or the system is repeatedly drained and refilled, it can accelerate corrosion and scale.
Even if you are not thinking about water chemistry, your system is. It just shows up later as leaks, blocked components, or poor heat transfer.
Installation issues and stress points
Hydronic lines can be stressed by poor routing, sharp bends, inadequate support, and expansion and contraction cycles.
A small stress point that never mattered at year five can become a leak at year twenty.
Heat exposure and environment in Phoenix homes
Phoenix heat can make attic and mechanical spaces harsh environments. That does not automatically mean failure, but it does mean routing and insulation choices matter.
A system that is installed thoughtfully tends to age better than one that takes the shortest path through the hottest space.
Repair VS Repipe: How to Make the Right Call
This is the decision homeowners really want help with.
When a repair is usually enough
A repair can be a good option when:
- The leak is clearly located and accessible
- The rest of the system is in good condition
- The piping material is not showing widespread wear
- You are not dealing with repeated failures in different areas

A proper repair should include pressure testing and a clear explanation of why the failure happened, not just a patch.
When repiping becomes the smarter long-term solution
Repiping often makes sense when:
- You’ve had multiple leaks in different locations
- The piping material is near end-of-life
- Repairs are becoming frequent and disruptive
- Access is difficult and each repair requires opening finished areas
- You want reliability and predictability, not ongoing surprises
If you feel like you are “one more issue away” from a bigger problem, you may already be in repipe territory.
What Hydronic Repiping Typically Involves
Hydronic repiping should be structured. If a company cannot explain the plan clearly, that is a red flag.
Step 1: Confirm system type and map the loop
A professional should identify:
- What type of hydronic emitters you have (baseboard, radiant floor, fan coil, etc.)
- Where supply and return lines run
- Where zones are split
- What materials are used in the existing system
Step 2: Pinpoint failures and pressure test
Before recommending a full repipe, the right contractor should:
- Test pressure behavior
- Inspect visible sections and connections
- Explain likely failure points and why they matter
Step 3: Plan new piping routes and access points
The goal is to replace lines while minimizing disruption. That may include:
- Using chases or mechanical spaces where possible
- Keeping access points deliberate and limited
- Routing to reduce heat exposure and future service headaches
Step 4: Replace piping and upgrade weak components
Depending on the system, repiping may also include replacing or addressing:
- Isolation valves
- Air elimination components
- Expansion tank connections
- Corroded fittings near the boiler or manifolds
Step 5: Refill, purge air, and test performance
A proper finish includes:
- Purging air from zones
- Bringing the system back to correct pressure
- Verifying heat delivery across zones
- Checking for leaks and documenting results
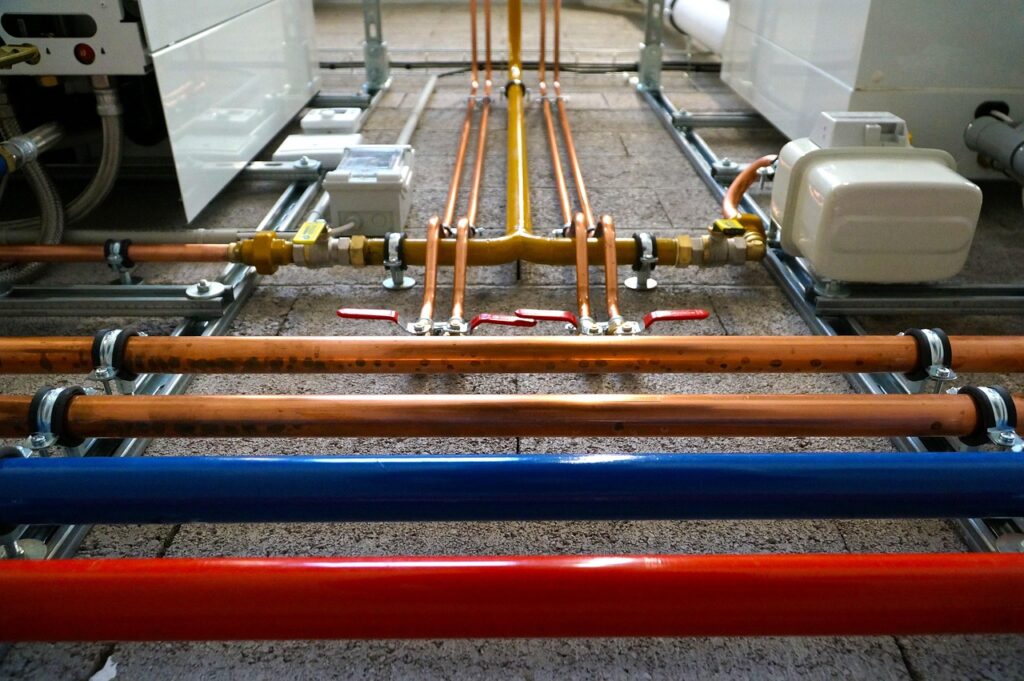
What Materials Are Used for Hydronic Repiping?
Material choice depends on your system design, temperature ranges, and local code requirements.
In many homes, repiping involves modern, durable materials that resist corrosion and make routing easier than older rigid systems. The “best” option is not universal. It should match your system, your home layout, and the installation approach.
If you are already looking at a domestic water repipe as well, this is a good moment to coordinate planning. Some homeowners combine projects to reduce disruption, especially if there is existing access being opened.
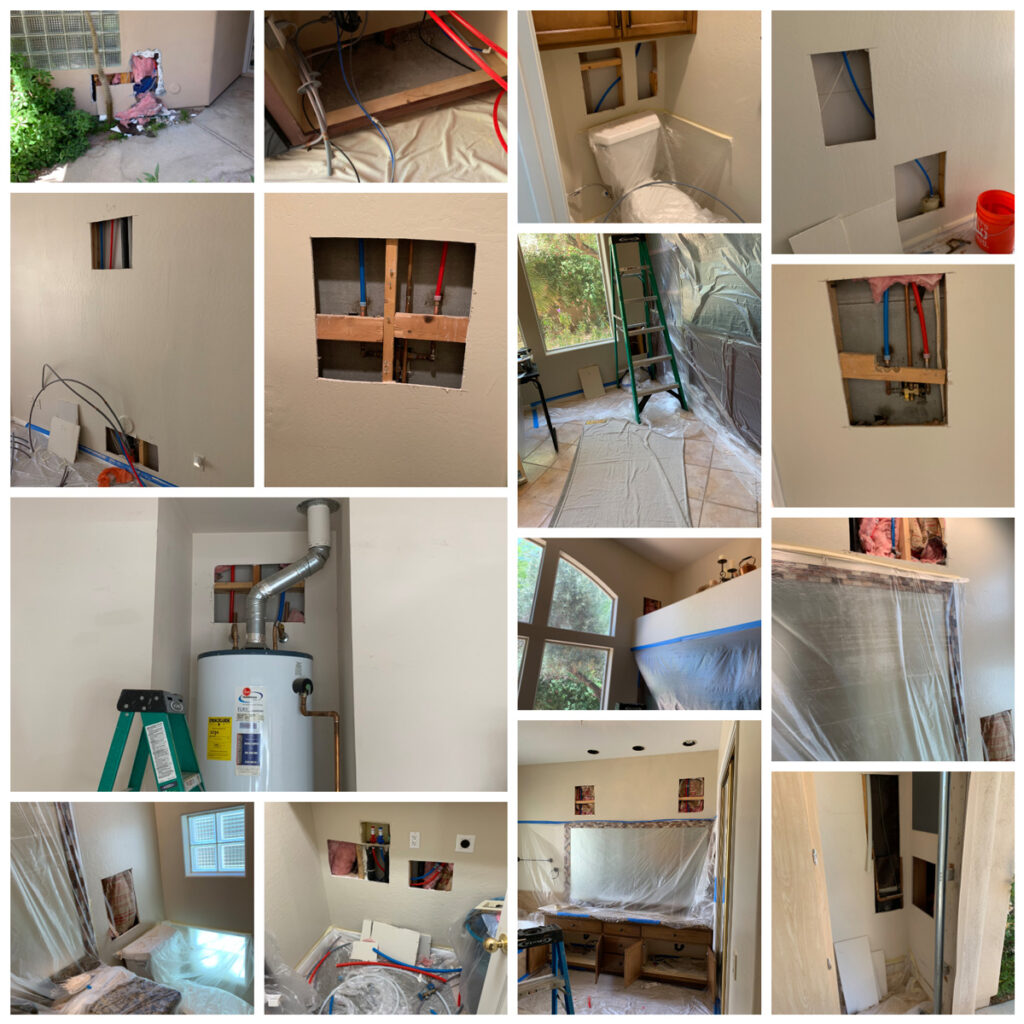
How to Reduce Disruption and Protect Your Home During a Repipe
A well-managed repipe should include:
- Clear communication on where access is needed
- Floor and furniture protection
- Dust control where openings are required
- A plan for daily clean-up if the job runs more than one day
- A final walk-through that explains what was done and what to watch moving forward
If someone brushes off your concerns about disruption, take that seriously. Good workmanship is not only about pipe connections. It’s also about how your home is treated during the process.
Hydronic Repiping Costs and Value, What Matters Most
Hydronic repiping cost varies widely based on:
- Home size and layout
- Number of zones
- Access difficulty
- How much piping is being replaced
- Whether related components need upgrades
The better question is usually value.
If repiping removes ongoing leaks, stops pressure loss, and restores reliable heat, it protects your home from water damage and saves you from repeated repair bills and disruption.
The Next Step
If your hydronic system is losing pressure, heating unevenly, or showing signs of leaks, the smartest next step is a professional assessment that answers three things clearly:
- Where is the failure happening, and is it accessible?
- Is this a one-off repair, or a system that is reaching end-of-life?
- What is the most practical plan to restore reliable heat with minimal disruption?
Book a no-obligation hydronic inspection with The Repipe Expert so you can stop guessing. You’ll get a clear diagnosis, a realistic recommendation, and a plan that fits your home, whether that’s a targeted repair or a repipe built for long-term reliability.